Welcome to Week 2 of the Double Trouble challenge - and a new sketch for Atlantic Hearts!
The expectation for Double Trouble is the same as last week - it's a two week challenge. Create your own background for your project. The small graphic is below.
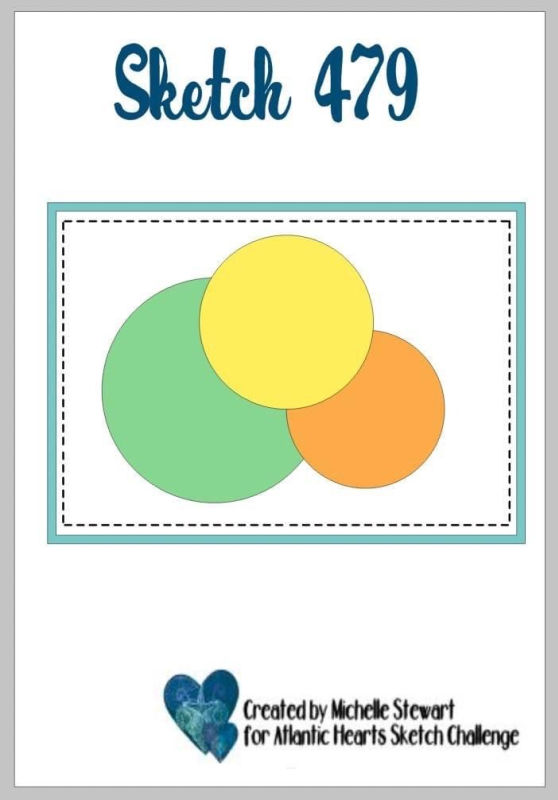
The sketch for Atlantic Hearts is below.
I struggled with this sketch... it was just difficult for me for some reason. The first card that I created is further down but I decided to make another card since I wasn't thrilled with the first one. I changed the orientation of the sketch as well.
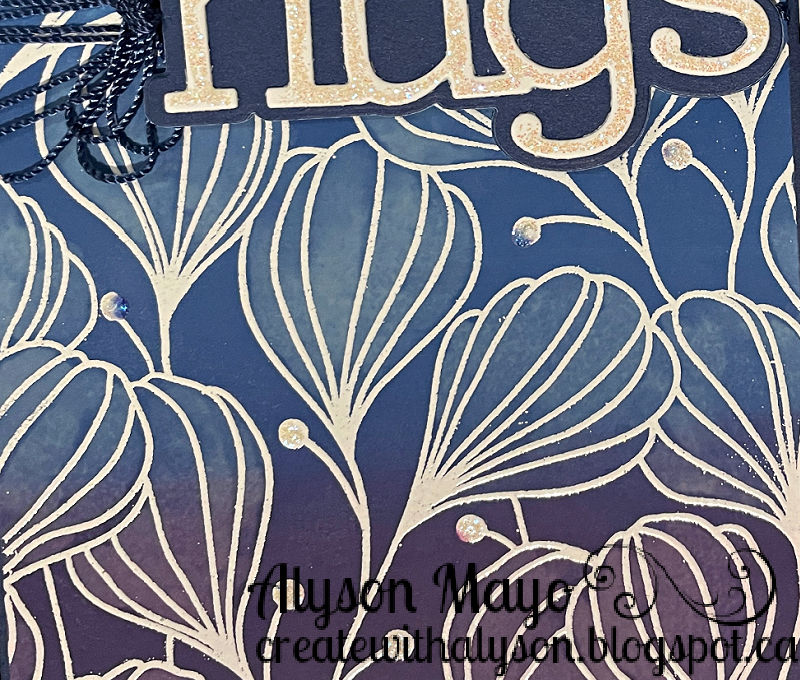
The background was hot foiled in purple and then stencilled using three shades of purple (Distress Oxide inks). I embossed the peony stamp in silver and then stencilled the flowers before die cutting them. They were arranged on three vellum circles. I embossed a sentiment in silver on vellum and added that across the bottom. The front panel was adhered to silver foil and then to a purple base. I brushed the darkest parts of the flowers with a clear shimmer brush and added some silver gems to finish off the card.


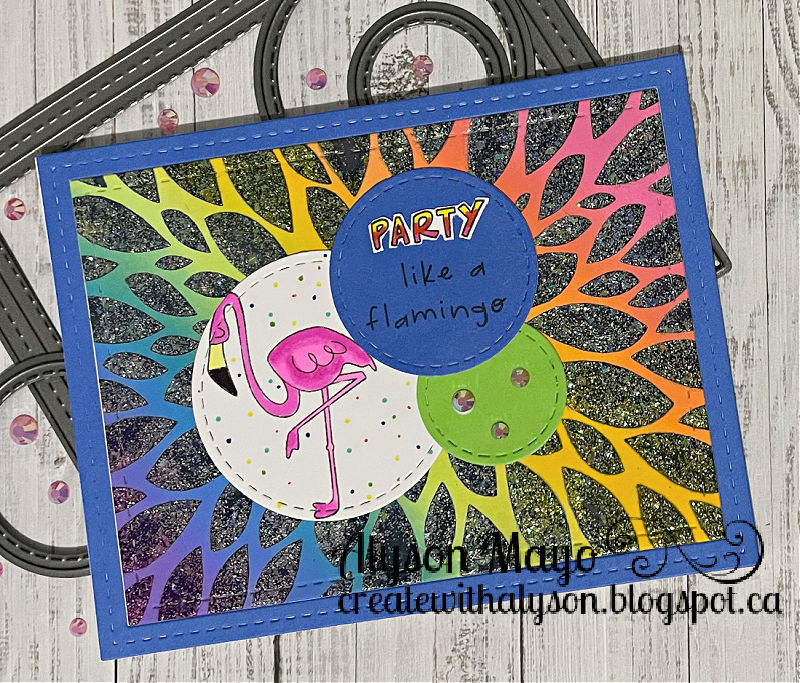
The card below is the one I originally created for this challenge. The background was created using the Joseph's Coat technique - inked the background in a rainbow striped pattern, added black ink over a stencil and then added Moondust Glitter Gel while the stencil was still attached. It left this beautiful rainbow background with tons of shimmer! I die cut three circles in rainbow colours and stamped the flamingo on the largest one. I manually added dots in the same rainbow colours around the coloured flamingo. The word "party" for the sentiment was coloured and fussy cut. A frame was die cut to surround the background and a few gems were added in the smallest circle.
Come and join us at both Double Trouble and Atlantic Hearts and show us how you interpret this challenge.
Both challenges end this Sunday!
We can't wait to see what you create!
Enjoy,
Alyson