I recently watched a video for this card. The imperial measurements provided were incorrect so I spent some time adjusting the pieces to fit.
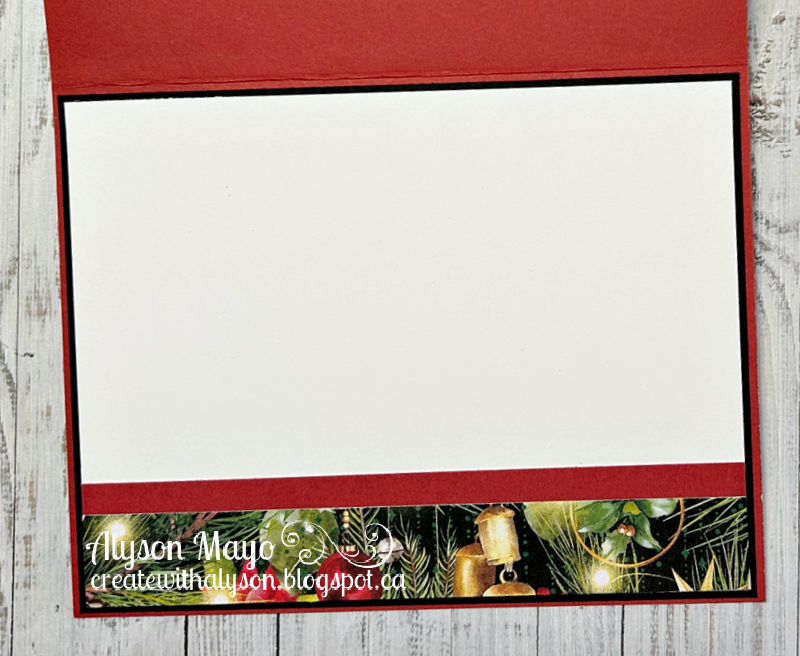
I chose a detailed paper with so many elements of Christmas - ornaments, greenery, poinsettias, etc. I pulled red and black cardstock to work with that paper so I used red as the base pieces and black for the mats.
The front of the card (and it folds flat for mailing) has the entire patterned paper image showing and I added a die cut gold sentiment.
Inside the first flap, I chose to work right on the back cardstock and build a scene there. I used a gold shimmer brush on the leaves of the poinsettia but that was it.
The next panel has a place to insert a gift card and I added a poinsettia (with shimmer) and some greenery onto the patterned paper.
The last panel has a space to write a message.
So happy with how this turned out!
I recently did the 30 minute card making stash and dash and made another of these cards using a rainbow colour scheme to meet the parameters. Same idea, just a completely different appearance!
Enjoy,
Alyson