Showing posts with label Better Press. Show all posts

Friday, July 3, 2026

Pressed Cosmos Card Set

 I made two sets of eight cards each using my Betterpress system along with coordinating stencils. Each of these cards was pressed in black ink and stencilled. I trimmed them down to fit on a black mat and a green card base. Some silver gems were added to each along with a sentiment. 

Enjoy, 

Alyson

Wednesday, March 4, 2026

Pink!! Flowers

 I borrowed some press plates from a friend of mine and pressed a LOT of images. This was one of them. 

I used pink and green Copics to colours in the flowers and greenery. The white base was coloured using black markers so it appears the image was created on a black background. I trimmed the card front down just slightly and added three gold gems. 

Enjoy, 

Alyson

Monday, December 15, 2025

BB December - Purple Vase


Welcome to Beautiful Blossoms and our December challenge!

The inspiration photo is below. It is not required to use it but your project must have florals as the focal point. 

I loved the colours in the inspiration photo so that is where I took my inspiration. I used my BetterPress system to press the vase and the leaves and then used the coordinating stencils to colour in the leaves. I die cut several flowers and extra leaves and added them to the bouquet. That piece was cut down and matted on dark purple cardstock, green cardstock and then a medium purple card base. I used a purple marker to add dots around the flowers and placed a hot foiled sentiment at the bottom. 

Come and join us at Beautiful Blossoms and show us how you interpret this challenge.

You have until January 12 to link up your project. 

We can't wait to see what you create!

Enjoy, 

Alyson

Monday, December 8, 2025

DT 206 - Lantern on Light Strings

 Welcome to Double Trouble Challenge 206 - our final challenge of this calendar year! 

This is a Something, Anything, Everything challenge. Choose your own 3-2-1 recipe. 

The small graphic is below - please visit the Double Trouble Challenge Blog for detailed information. 

I chose 3 colours, 2 die cuts and 1 sentiment. 

The background was created using my BetterPress and the lights were coloured using co-ordinating stencils. I die cut several things - the frame, the lantern, the bow and the hot foiled sentiment. Some of them were inked and then arranged on the card front and I added a gold gem in the centre of the bow. The card front was adhered to a black card base. 

Come and join us at Double Trouble and show us how you interpret this challenge. 

You have until the end of the month to link up your project. 

We can't wait to see what you create!

Enjoy, 

Alyson

Friday, July 11, 2025

Cut It Up 334 - Poinsettia Frame

 Welcome to Cut It Up Challenge 334!

The theme for this challenge is Christmas in July. 

I make Christmas cards throughout the year since I send over 250 of them. 

For this challenge, I pulled out my Better Press machine - it has been an a long time! I pressed a few of these poinsettia frames and decided on a black one. The images were stencilled and then the piece was die cut three times and stacked. I also pressed the sentiment and stacked that several times. The pink circle was ink blended and die cut. I added everything to a die cut background and placed some iridescent gems around the card. 

Come and join us at Cut It Up and show us how you interpret this challenge. 

You have until Monday, July 21 to link up your project. 

We can't wait to see what you create!

Enjoy, 

Alyson

Saturday, March 8, 2025

SS 771 - Make a Wish

Welcome to Sketch Saturday Challenge 771!

The sketch has so many possibilities - I chose a floral birthday theme. 

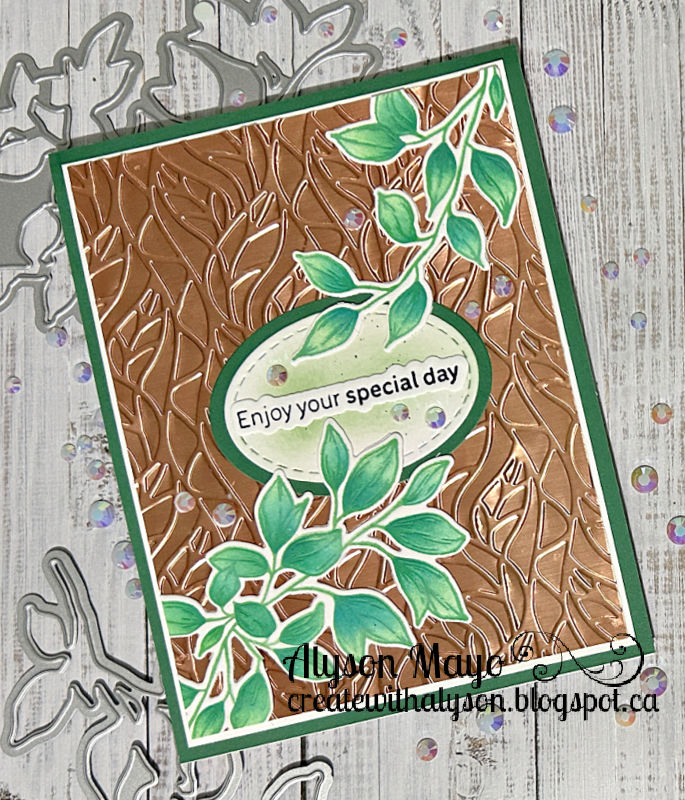
The background was hot foiled and I die cut a lattice backgound three times and stacked it. That was placed behind the pink oval and onto a lightly inked green panel. The leaves were created wth my BetterPress, coloured and die cut. I also die cut several flowers in shades of pick. They were added in two clusters on opposite ends of the oval. The sentiment was embossed in silver and placed on the right side and I added white gems to the flowers and silver Stickles to all the tiny holes on the large oval. 

Come and join us at Sketch Saturday and show us how you interpret this sketch. 

You have two weeks to link up your project. 

We can't wait to see what you create!

Enjoy, 

Alyson 

Friday, August 2, 2024

MTTCC 92 - Half Wreath Card

Welcome to My Time to Craft Christmas Challenge 92! 

The theme for this challenge is buttons. 

I gave away almost all the buttons in my stash many years ago. I had a handful of tiny silver glitter buttons left but that was it. I used a layering stencil set and created two partial wreaths on a card front. The tiny buttons were added on the two wreaths and I placed a hot foiled sentiment with silver metallic thread at the bottom. The entire card front was adhered to a dark green card base. 

Come and join us at MTTCC and show us your projects with buttons. 

You have two weeks to link up your project. 

We can't wait to see what you create! 

As an aside, as I was deciding what to do for this challenge, I misread the challenge itself and thought it was for the OTHER MTTC team. I made this card using some alcohol inked background pieces, leaves created with the Better Press system and a cute little grumpy pea.

Enjoy, 

Alyson

Friday, July 19, 2024

MTTCC 91 - Peace on Earth

Welcome to My Time to Craft Christmas Challenge 91! 

The theme for this challenge is woods. 

I knew exactly what I was going to use to create my card. I have a gorgeous press plate that creates a scene with trees along a path in the woods. I inked that up with dark blue ink and pressed it into the paper. The effect in real life is just like a letter pressed image. I die cut the image and placed it on a piece of white cardstock that was embossed with a snowflake embossing folder. I added clear Stickles to the snowflakes to provide some shimmer and placed a silver embossed sentiment at the top. Easy, but oh, so pretty! 

Come and join us at MTTCC and show us your "woods" projects. 

You have two weeks to link up your project. 

We can’t wait to see what you create!

Enjoy,

Alyson

Saturday, May 11, 2024

A Timeless Sketch with Leaves

 I have seen a variety of sketches similar to this and it is one that is used over and over. I created this sketch myself and will use it as a guide in my teaching group. 

I created three cards based on this sketch. There is one each of silver, gold and copper. The leaves were created using the Better Press system and then stencilled using oxide inks and die cut. The sentiments were also pressed and die cut. Depending on the colours of the leaves and the circle/oval image, I added a bit of ink around the open area. The leaves were adhered around the sentiments and I did a bit of ink splattering on two of the sentiment pieces. The backgrounds were embossed before being added to a border and then the card base. Some gems were added to each card was well. 


Enjoy,

Alyson

Thursday, January 18, 2024

Watercolour Washes on Better Press Cards

 These cards are the results of my recent play with my Better Press machine. I saw a post by a Pinkfresh Studio designer who used a watercolour wash on a card and I wanted to try that. 

The image for both of these cards is the same. I used shades of pink for the first card to wash colour over part of the image. I added a holographic striped paper at the left and a dark pink patterned paper at the right. A thin strip of black glitter paper was also used and I wrapped black twine around the left side and left two ends hanging. The sentiment was stamped and added to a circle die cut. I also coloured in the butterfly to make it stand out a bit more. 

The second card is very similar - I used shades of blue on this one. The image was trimmed down to fit on a black mat and I added two thin strips of glitter paper and a sentiment at the bottom right. 

Enjoy,

Alyson

Wednesday, January 17, 2024

You Make Me Happy Stencilled Cards

 I finally got out my Better Press machine and made a few card fronts. These two were both created using black and green inks. 

For the first one, I stencilled leaves around the sentiment using two shades of green. The detail layer was stencilled with a darker shade of green. I trimmed down the card front and added it to a black mat and a green card base. Some platinum Stickles were placed around a few of the leaves. 

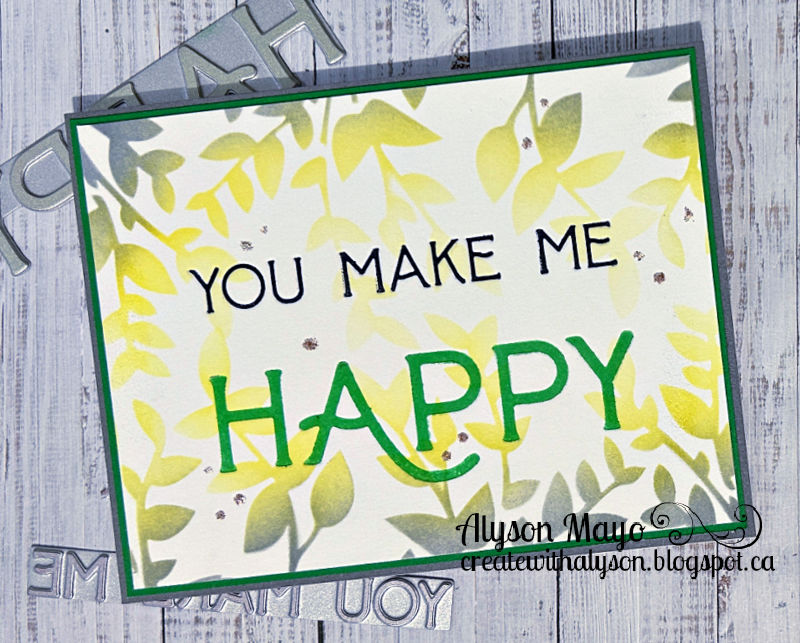
The second card started out the same way but I used a vine stencil and shades of grey and yellow to stencil the vines at the top and bottom, overlapping the sentiment. The card front was trimmed to fit on a green mat and then a grey card base. Again, I added a few Stickles around the card to finish it off. 

Enjoy,

Alyson

Thursday, November 9, 2023

Better Press Pine Branch Christmas Cards

 There are six cards shown here - I actually made two of each for twelve cards in total. 

Each of these cards was created using the Better Press system - it impresses the images into the cardstock. That is very hard to see in the photos but the effect is so pretty! 

I used a few colours and stamped some parts of sentiments and die cut one of them as well. Some edges were inked and flat embellishments or Stickles were added to a few cards. 


Enjoy,

Alyson

Wednesday, November 1, 2023

NOEL Christmas Card

 The background for this card was created using the Better Press system - it leave a letterpress effect on the paper. That is difficult to see in the photos but the impression is very evident in real life. There is a bit of "feathering" around some of the images... I think my plate was a little dirty when I pressed this particular image. 

I coloured the images and die cut around the entire image with a stitched rectangle die. That was adhered to a black mat and then a white card base. I added some small dots with a black marker around the images but that was it! 

Enjoy,

Alyson
Monday, October 16, 2023

Let's Celebrate Better Press Birthday Cards

 These two cards were based on an idea from the Spellbinders website. The sentiments were created using the Better Press system (creates a letterpress effect). I chose colours that worked well together and die cut the flowers and leaves from various colours of cardstock. I used tiny blending brushes to add detail to the images and assembled them. The sentiment for each card was adhered to an embossed background with foam tape and the flowers were added in the opposite corners. Some iridescent sequins finished off these cards. 


Enjoy,

Alyson

Thursday, October 12, 2023

Dogwood Birthday Card

 There is a lot happening on this card - Better Press images, embossed background, die cut and inked flower and leaves... 

The birthday sentiment was created using the Better Press system (creates a letterpress effect that is pressed into the paper) and I adhered that to an embossed black background. The flowers were die cut and inked to bring out the details. I adhered them to the sentiment and the black cardstock, cutting pieces as needed to fill in the gaps. No embellishments were added... I forgot! I had several projects on my desk at the time and I photographed the card before I had completely finished it. Oh well - it looks fine as it is! 

Enjoy,

Alyson

Tuesday, August 15, 2023

Smiles Better Press Card

 This is another attempt using the Better Press system. I used the same press plate to create a floral image in the four corners. I used alcohol makers to colour the flowers and leaves and trimmed the card front to fit on a black card base. The sentiment was die cut three times and stacked before being added to the centre of the card. 

Enjoy,

Alyson

Monday, August 7, 2023

Card Set - A Note from Me to You

 This very simple set of cards is great for any occasion and also works for masculine cards. 

Each card was created using the Better Press system and I used a variety of ink colours. The front panel was cut down and placed on a coordinating cardstock back. No embellishments were added so these are flat for mailing. 


Enjoy,

Alyson

Saturday, August 5, 2023

More Better Press Cards

 I have played at length with the Better Press system and I wish I could say I loved it... but I have been having a lot of issues getting good results. I am hoping that some troubleshooting and practice will make it easier. 

These two cards were made with images that turned out ok - the colouring helps to hide the fuzziness. The first one was simply coloured and matted with two colours. A small sentiment was added along with some gold Stickles. 

For the second card, I coloured the flowers and then I used a black marker to colour the entire background. I die cut out the sentiment section and white heat embossed a different sentiment. That, along with the butterfly, were placed back into the card opening. 

Enjoy,

Alyson

Sunday, July 30, 2023

A JM Look-Alike!

 I watch a lot of videos by Jennifer McGuire... it just so happened that I had the same products she used for a recent card. I decided to try and recreate it using slightly different colours. 

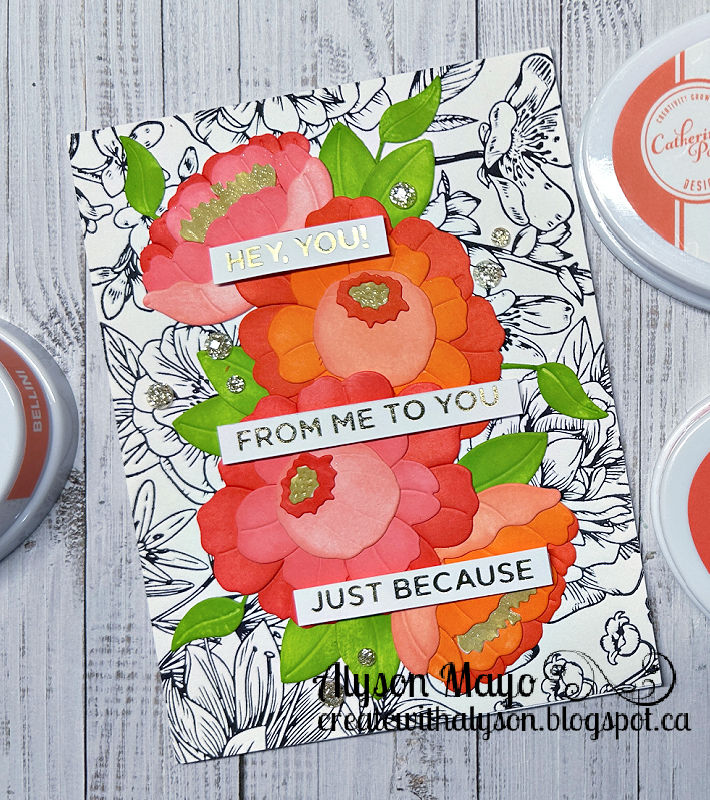
She use pinks and oranges for the flowers whereas I stuck to shades of orange. I inked the floral and leaf pieces whereas she use coloured cardstock. The background was created using a press plate and the Better Press system. The sentiments are different but I just loved the design. Here is my CASEd card! 

Enjoy,

Alyson

Tuesday, July 25, 2023

Better Press Birthday Cards

 I went back to my Better Press machine after some frustrating initial attempts and this time was so much better! 

The pressed images are the backgrounds for each card plus the birthday and celebrate messages. I CASEd these cards from the Spellbinders website as I really liked the look of them. The background and the sentiment pieces were trimmed to fit on black mats and the sentiments were adhered with foam tape. I die cut a bunch of flowers and leaves from white cardstock. Those were inked and adhered to the corners of the card. A few gems (light blue or clear) were added to the cards to finish them off. 


Enjoy,

Alyson