
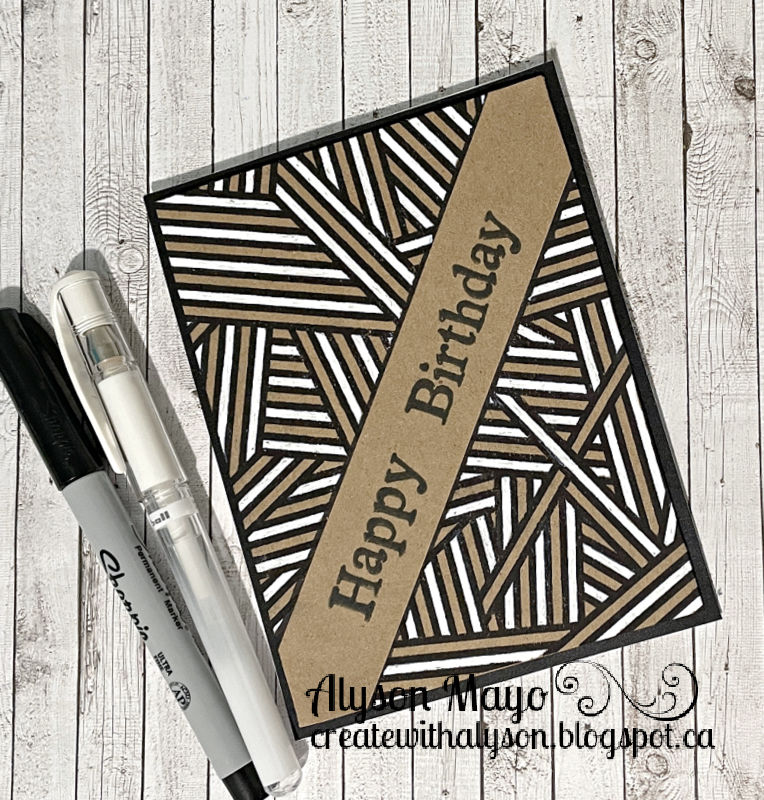
I watched a video recently by Natasha Foote and she demonstrated a neat technique on Kraft cardstock. Some images work better for this than others as I learned... ideally an image with lines is the best.
The only products used are a white gel pen, a black fine tip marker and the stamped image. A stamp press is very helpful because the black image needs to be stamped after the white sections are coloured. It's almost impossible to remain within the lines and stamping a second time help to define those black lines.
My better attempt at this (my second card) is shown first. I used a background stamp with lines so I could colour in only the ones that I wanted to be white. I had to stamp the image multiple times and realized after I removed the masking tape for the sentiment that the multiple stamping had gone through the tape and left marks on the sentiment panel. I cut another piece of Kraft cardstock and adhered it over the damaged section - no big deal.
This card was my first attempt... and it was obviously not the best stamp to use for this. After I coloured in sections in both black and white, I restamped the image and added the sentiment. I also drew tiny black dots around the flowers.

Both cards were adhered to a black base using craft foam for some dimension.
Products used are as follows:
Paper: Kraft Cardstock, Black Cardstock (both CMTH), Neenah Solar White Cardstock
Stamps: Happy Birthday (CTMH), Striped Jungle Background (SSS), Peony Cluster (Sweet and Sassy Stamps), Handmade Essentials (scrapbook.com)
Inks: Archival Black (CTMH), Obsidian Black Amalgum Ink (Gina K. Designs)
Accessories: Craft Foam, Black Sharpie Marker, White Gel Pen
Enjoy,
Alyson
No comments:
Post a Comment
Thank you so much for leaving a comment - it truly makes me smile :)