Sunday, December 18, 2011

A Special Thank You Card

Our Choir Director at Church is retiring after Christmas... she has been leading the Senior Choir for 14 years and we will miss her terribly, but she has decided that the time has come for her to move on to other things in her life. So, we have to say farewell. It was a happy service today in that we were celebrating for Christmas, but sad in that we are losing this wonderful and talented woman... 
The card below was signed by all the choir members and presented to her at our annual Choir Christmas party last night. Since there were so many people to sign the card, I added an additional page.
As always, double click on an image to see more detail.
Enjoy, 
Alyson

Supplies used are all CTMH unless otherwise noted: 
Paper: White Daisy cardstock, Gypsy cardstock, Black cardstock
Stamps: Playful Flourishes (ret.)
Inks: Gypsy, Computer (sentiment typed on computer)
Accessories: Art Philosophy Cartridge, Border Punch (not CTMH), Black Satin Ribbon (not CTMH), White Button (ret.), Petal Waxy Flax (ret.), Pearl Opaques

Thursday, December 8, 2011

A Memory Album for Two Young Girls...

A family across the street from us tragically lost their father late last spring in a terrible accident. He left his beautiful wife and two young daughters - ages 13 and 17. A friend of ours asked me to make up two mini-albums for the girls for Christmas. It was a very difficult project for me to complete as it brought back a lot of memories. I am not posting the entire album here - just a couple of pages. I tried to keep it low key and include several photos of the neighbours as well as the family for the girls to remember all the good times. I hope they will look upon it with positive memories... 
that is what it is all about. 
Alyson

Monday, November 28, 2011

Christmas Cards - Holiday Wishes

Although I haven't been posting much on my blog lately, I have been keeping busy with Christmas Card classes, church choir events and other Christmas preparations. The Holiday Wishes stamp set (November's campaign, which is almost over...) has become one of my favourite stamp sets. The cards shown here all feature that set.
The first two are the same design that is featured on the flyer to promote the stamp set. I just loved the card so much that I had to reproduce it. I did it in both Vineyard Berry and Holiday Red. All supplies used for each of the cards are listed below the final card. 
The next card is CASEd from Allisa Chilton - I saw her card on the CTMH Art Board and fell in love with it. I changed the colour, though, and did mine in Lagoon, rather than in Pacifica. 
The final card is done using Gypsy - one of my favourite colours in our palette. I stamped the stars using Gypsy, Pansy Purple and Amethyst and alternated them with our Milepost stars. 
Enjoy, 
Alyson

Supplies used are all CTMH unless otherwise noted: 
Tree Cards
Paper: Colonial White cardstock, Bamboo cardstock, Olive cardstock, Vineyard Berry cardstock, Holiday Red cardstock
Stamps: Holiday Wishes
Inks: Olive, Vineyard Berry, Holiday Red, Bamboo
Accessories: Art Philosophy Cartridge, Wings Level 2 Assortment Ribbon, Vineyard Berry Ribbon (ret.), Red Organdy Ribbon (not CTMH), Embroidery Floss Green Assortment, Sparkles - Red, Pink and Purple Assortment, Red Glitz Glitter Gel, Foam Tape
Bird Card
Paper: White Daisy cardstock, Lagoon cardstock
Stamps: Holiday Wishes
Inks: Lagoon
Accessories: Art Philosophy Cartridge, Lagoon Mini-Medley Collection (ret.), Cuttlebug Embossing Folder (not CTMH), White Satin Ribbon (not CTMH), Foam Tape, Pearl Opaques Adhesive Gems, Colonial White Waxy Flax
Stars Card
Paper: Colonial White cardstock, Gypsy cardstock, Pansy Purple cardstock, Amethyst cardstock
Stamps: Holiday Wishes
Inks: Amethyst, Gypsy, Pansy Purple
Accessories: Milepost Shapes, Shimmer Designer Brads, Pleated Ribbon (not CTMH), Cuttlebug Embossing Folder (not CTMH)

Friday, November 4, 2011

Christmas Cards - Part 1

These Christmas cards are totally CASEd from two of my favourite consultants/artists - Jody Gustafson and Kelly Triggs. I love their work and follow both their blogs regularly. 
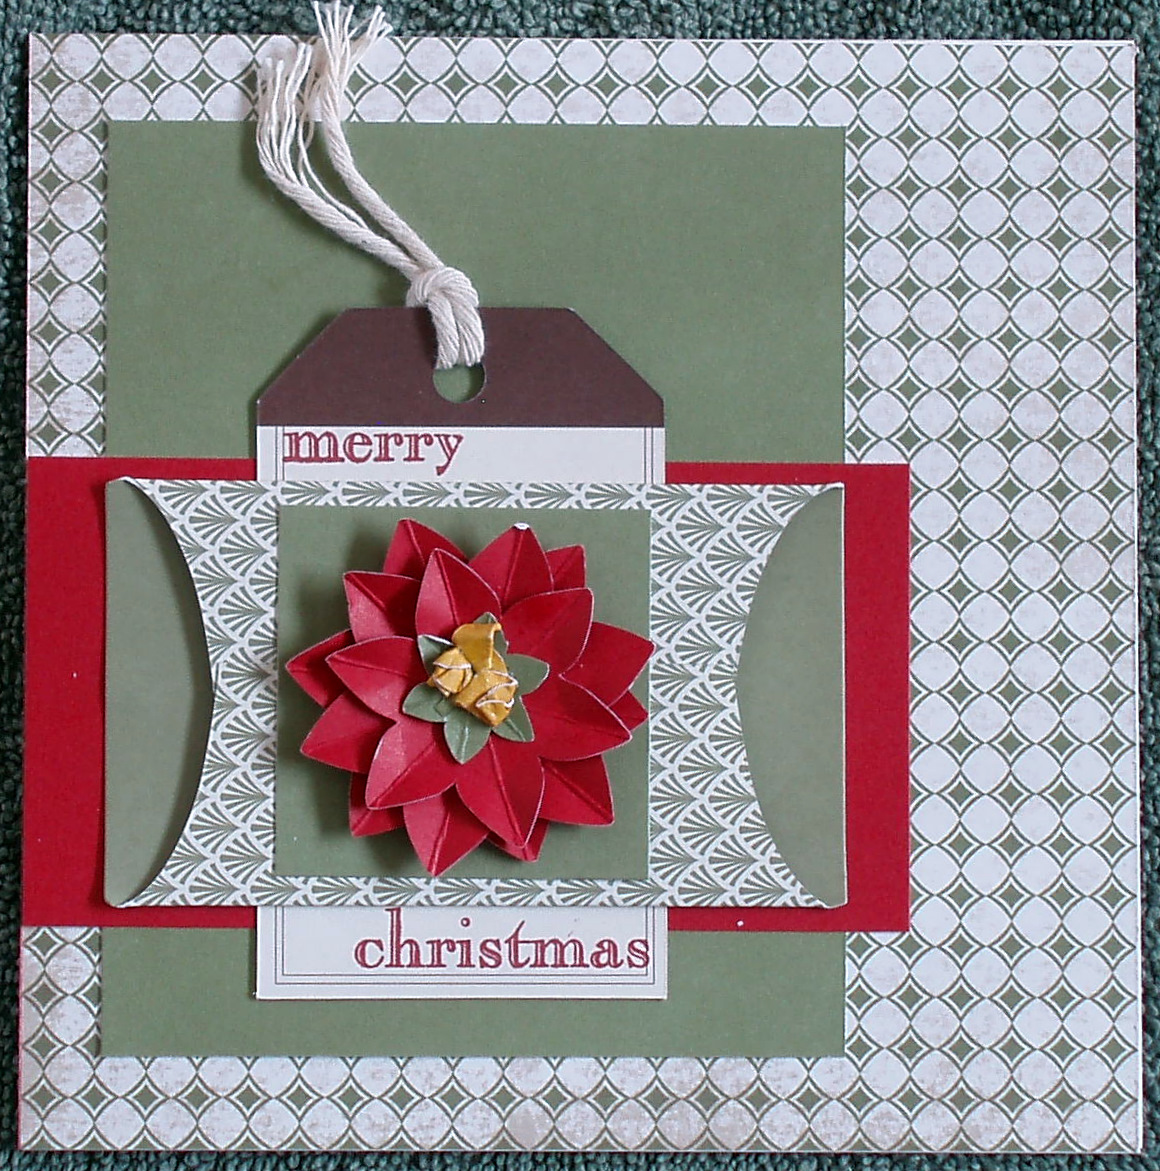
The first two cards are actually gift card holders, created by Jody Gustafson. I loved her idea of using the Decor Journaling Spots as gift card holders - I thought that was so clever. I just changed up the colour scheme on the second card. 
This card was designed by Kelly Triggs and I am not sure if she used Gypsy or Petal on her original card but Gypsy is one of my favourite colours in the CTMH palette so I couldn't resist making this one. I love everything about this card - the emboss resist technique, the shape of the card, the bling... just everything! 
Thanks for this inspiration ladies! 

Enjoy, 
Alyson

Supplies used are all CTMH 
Gift Holder Cards:
Paper: Elemental Paper Pack, Cranberry Cardstock, Olive Cardstock, Honey Cardstock
Stamp Sets: A Holiday
Inks: Cranberry
Accessories: Art Philosophy Cartridge, Decor Journaling Spots, Embossing Stylus

Season's Greeting Card:
Paper: White Daisy Cardstock, Gypsy Cardstock
Stamp Sets: Holiday Commentary, Snow Flurries
Inks: Gypsy, Amethyst, Versamark
Accessories: Art Philosophy Cartridge, Clear Detail Embossing Powder, Heat Tool, Bling Assortment, Clear Sparkles, Bitty Sparkles, Colonial White Waxy Flax, Foam Tape, Sponge

Monday, October 31, 2011

Sonoma Paper and Kraft Die-Cut Cards

After working with the Sonoma Workshop on the Go, I really fell in love with the Kraft cards. And then I found Sherri Tozzi's website and her take on them. I decided to try some more of them and I love the way they turned out. The Sonoma paper works so well with the Kraft paper and the overall effect is just gorgeous!

I think I may just have to offer a workshop for these cards after the Christmas holidays... 
The smaller photo shows the closure for each card. The second card used the scalloped edge as a holder for a note instead of a closure. 
Enjoy, 
Alyson

All supplies are CTMH
Paper: Somona Paper Pack, Olive Cardstock, Smokey Plum Cardstock, Colonial White Cardstock, Kraft Die Cut Cards
Stamps: Sonoma WOTG Stamp Set
Inks: Smokey Plum, Olive, Cocoa, Smokey Plum Marker, Olive Marker, Bamboo Marker
Accessories: Art Philosophy Cartridge, Designer Ribbon Cocoa Collection, Designer Ribbon Colonial White Collection, Colonial White Waxy Flax, Colonial White Mini-Medley Collection, Pewter Mini-Medley Collection, Embossing Stylus, Olive Waxy Flax (ret.), Heirloom Assortment, Pearl Adhesive Gems, Foam Tape

Friday, October 28, 2011

Detroit Regionals Artwork - Cards and Box

Here is the box and the cards we made at the Detroit Regionals. There are actually 8 cards - 2 of each. 
The supply list is at the bottom. It is separated only by the list of items for the box and then for all the cards together. If you want more info, please feel free to contact me. 
And the four cards
Enjoy, 
Alyson

All supplies are CTMH

Card Box
Paper: Dreamin' Paper Pack, Pacifica Cardstock, Bamboo Cardstock
Stamps: Love Life
Inks: Cocoa, Cranberry
Accessories: Milepost Shapes, Colour-Ready Alphabet Cork, Bronze Glitter Gel, Designer Ribbon Collection Red, Pewter Mini-Medley Collection, Art Philosophy Cartridge, Card Box

Cards
Paper: Dreamin' Paper Pack, Pacifica Cardstock, Chocolate Cardstock, Bamboo Cardstock, Goldrush Cardstock, Colonial White Cardstock
Stamps: Love Life, Joyful Jar
Inks: Chocolate, Cranberry, Pacifica
Accessories: Milepost Shapes, Pewter Mini-Medley Collection, Art Philosophy Cartridge, Bronze Glitter Gel, Designer Ribbon Collection Red, Foam Tape

Thursday, October 27, 2011

Detroit Regionals Artwork - Layouts

The layouts we completed at the Detroit Regionals were awesome! They were full of detail and included lots of layering and some new techniques. I have not added photos to mine yet - they will have to be extra special photos! 
The first layout has a hidden journaling tag behind the large photo mount. I love hidden journaling and use it often on my layouts, not because I have anything to hide, but because I think it is so cool. 

For the second layout, we had a cricut cutout of the star shape with a square around it and we used that as a mask to paint the glitter stars on the page. I accidentally did mine before I did the stamping and then had to very carefully stamp around the wet glitter - I would highly recommend doing it in the reverse order. 
I will post the card box and the cards we made tomorrow. 

Enjoy, 
Alyson

Supplies used are all CTMH
To Know You... Layout
Paper: Sonoma Paper Pack, Cocoa Cardstock, Desert Sand Cardstock, Bamboo Cardstock, Autumn Terracotta Cardstock, Honey Cardstock, Colonial White Cardstock (placeholders)
Stamps: Hooray Boquet, Love Life
Inks: Honey, Autumn Terracotta, Desert Sand, Cocoa, Desert Sand Marker
Accessories: Art Philosophy Cartridge, Milepost Shapes, Pewter Mini-Medley Collection, Colour-Ready Alphabets Cork, Designer Ribbon Red Collection, Foam Tape, Corner Rounder

Just Can't Help It Layout
Paper: Typeset Paper Pack, Barn Red Cardstock, Bamboo Cardstock, Desert Sand Cardstock, Colonial White Cardstock (placeholders)
Stamps: Happy Clusters, Love Life
Inks: Cocoa, Chocolate Marker
Accessories: Bronze Glitter Gel, Pewter Mini-Medley Collection, Milepost Shapes, Colour-Ready Alphabet Cork, Art Philosophy Cartridge, Foam Tape

Wednesday, October 26, 2011

Detroit Regionals - Studio J Layouts

I got home from Detroit earlier this week - learned a lot at Regionals and will post the artwork that I completed later this week. 
Meanwhile, here are the other three Studio J layouts that I completed as part of the 5 pack we received. The new techniques really tested my patience, but I sure learned a lot in the process. 
For this layout, we were to take a photo and enlarge it at least 200% and then fit it into the bottom 6 photo wells. It took some maneuvering to align all the parts but it worked. I like the effect and it's a great way to use this layout if you don't have enough photos to fill all the photo wells. 
This was the layout that caused me so much frustration. We had to create our own argyle - I don't even LIKE argyle! It was done by creating a text box and tilting it so it would line up with the next box (yeah, right...), then add stitching and copying and pasting... sure... I ended up doing most of mine individually. Anyways, it got done. 
The last layout was all about learning to stitch around a photo and then copy and paste it around another photo. It actually went pretty quick once I figured it out. I like the way this one turned out. The new stitching options are awesome!
If you haven't used Studio J lately, get in there and try it out! You can try it out FOR FREE! Just go to my website by clicking the Shop with Me link on the left side of my blog and click the Studio J tab once you get to my website. There is absolutely NO obligation unless you decide to purchase a layout. You can play all you want for free! 

Enjoy, 
Alyson

Saturday, October 15, 2011

Extra Special Layout for an Extra Special Couple

This layout has been a long time in the making. This couple have been very special friends of my parents and of mine for many years, and after my father passed away five years ago, they have been invaluable to my mom, helping her out in ways that just cannot be described. I wanted to do something special for them this Christmas. I finally completed the layout and, when I am in Detroit this coming week, I intend to look for a special frame to match the colours in the layout.The colours have been chosen to match the decor in their living room.
Thank you, Harold and Vera, for all that you have done to make my mom's life so much easier and allow her to remain in her home when I could not be there to assist her from the distance away that I am. I love you both as my own parents. 
Alyson
All products are CTMH unless otherwise noted: 
Papers: Magnifique Level 2 Paper Pack, Pacifica Cardstock, Lagoon Cardstock, Sky Cardstock, Colonial White Cardstock, Vellum
Stamps: None
Inks: Pacifica, Sky, Lagoon
Accessories: Art Philosophy Cartridge, Sponge, Tweezers, Hot Glue Gun (not CTMH), Turquoise Ribbon (not CTMH), Glue Dots, Foam Tape

Monday, October 10, 2011

My Kelsie - as a Puppy

I am hopefully heading to Detroit next week for the Regional Celebrations and we had to complete 5 Studio J layouts within certain parameters. I learned a lot of new skills doing these layouts and some caused me a lot of frustration, but here are two of them to give you some ideas of what we had to complete. 
This was my favourite! It was done using the Wonderland papers. It shows Kelsie, my doggie, when we were picking him out from the litter.
The second one features Typeset, a paper pack I am not particularly fond of, but was able to use to feature more of Kelsie as a puppy (I did all my layouts featuring my dog...), but I changed some of the features that were suggested to fit my theme a bit better). Initially, I deleted a photo well and had to redo the entire layout... it was a lot easier the second time around!
Enjoy, 
Alyson