Welcome to Colour Dare Challenge 607!
It's a tic tac toe board this week - chose any row, column or diagonal line. You may use other colours but they must be on the tic tac toe board.
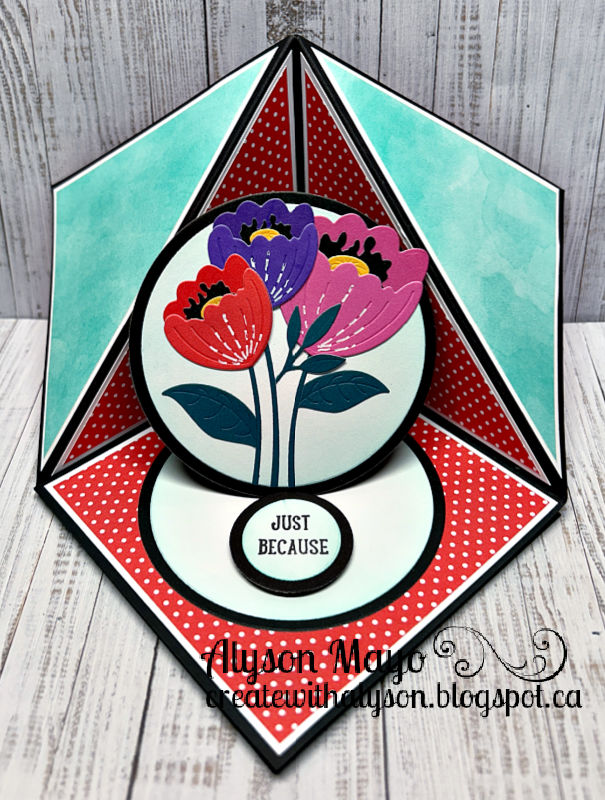
I chose the bottom row (Glacier, Journey and Royal) plus a diagonal (Glacier, Lagoon and Wisteria). I also used silver.
The stencil I used for the background is one of the oldest stencils I have... I stencilled the background using Glacier, Lagoon and Journey. The sentiment was die cut from both Wisteria and Royal cardstock and I offset the letters to create a shadow. The word was adhered on a piece of vellum across the card and I added thin silver strips above and below the word. I brushed the letters with a clear shimmer brush. Some clear gems were placed around the sentiment and the card front was adhered to a Royal mat and then a Journey card base.
Come and join us at Colour Dare and show us how you interpret this challenge.
You have two weeks to link up your project.
We can't wait to see what you create!
Enjoy,
Alyson